Your dryer vent is probably the most dangerous thing in your house that you never think about. Every year in the United States, clothes dryers cause an estimated 2,900 home fires, according to the National Fire Protection Association (NFPA). These fires result in 5 deaths, 100 injuries, and $35 million in property damage annually. The leading cause? Failure to clean the dryer vent.
The good news is that dryer vent fires are almost entirely preventable. Regular cleaning — whether you do it yourself or hire a professional — takes less than an hour and costs under $150. This guide covers everything you need to know.
Why Dryer Vents Are a Fire Hazard
To understand the risk, you need to understand what's happening inside your dryer. Every load of laundry produces lint — tiny fibers that separate from your clothes during the tumbling and heating process. Your lint trap catches about 75% of this lint. The remaining 25% passes through the trap and into the dryer vent duct.
Over time, this lint accumulates inside the vent duct, particularly at bends, joints, and where the duct connects to the exterior vent hood. Lint is highly flammable. When enough of it builds up, the restricted airflow causes the dryer to overheat. A single spark from the dryer's heating element can ignite the lint, and the fire spreads rapidly through the duct — often reaching the walls of your home within minutes.
🔥 NFPA Fire Data: Dryers and washing machines were involved in one out of every 22 home structure fires reported to U.S. fire departments between 2014–2018. Dryers accounted for 92% of these incidents. The peak months are January, February, and March — when dryers run most frequently.
Warning Signs Your Dryer Vent Needs Cleaning
Your dryer gives you clear signals when the vent is getting clogged. Don't ignore these:
1. Clothes Take Longer to Dry
This is the most common early warning sign. If loads that used to dry in 45 minutes now take 60–90 minutes, or you're running the dryer twice for the same load, the vent is likely restricted. Reduced airflow means moisture can't escape efficiently, so your clothes stay damp.
2. The Dryer Is Hot to the Touch
Your dryer should be warm during operation, but not uncomfortably hot on the outside. If the top or sides of the dryer are hot enough to be uncomfortable to touch, heat is being trapped inside due to restricted airflow. This is a fire risk.
3. Burning Smell
If you smell something burning while the dryer is running, stop the dryer immediately. This could be lint inside the vent or near the heating element beginning to scorch. Don't use the dryer again until the vent has been cleaned and inspected.
4. The Vent Hood Flap Doesn't Open
Go outside and check the exterior vent hood while the dryer is running. The flap should be pushed open by the airflow, and you should feel strong, warm air coming out. If the flap barely opens or you feel weak airflow, the vent is clogged somewhere between the dryer and the exterior wall.
5. Visible Lint Around the Dryer or Vent Opening
Lint accumulation around the dryer connection, on the floor behind the dryer, or visible at the exterior vent opening all indicate a vent that's overdue for cleaning.
6. It's Been More Than a Year
Even without obvious warning signs, if you haven't cleaned the vent in over 12 months, it's time. Annual cleaning is the baseline recommendation from the NFPA and the U.S. Fire Administration.
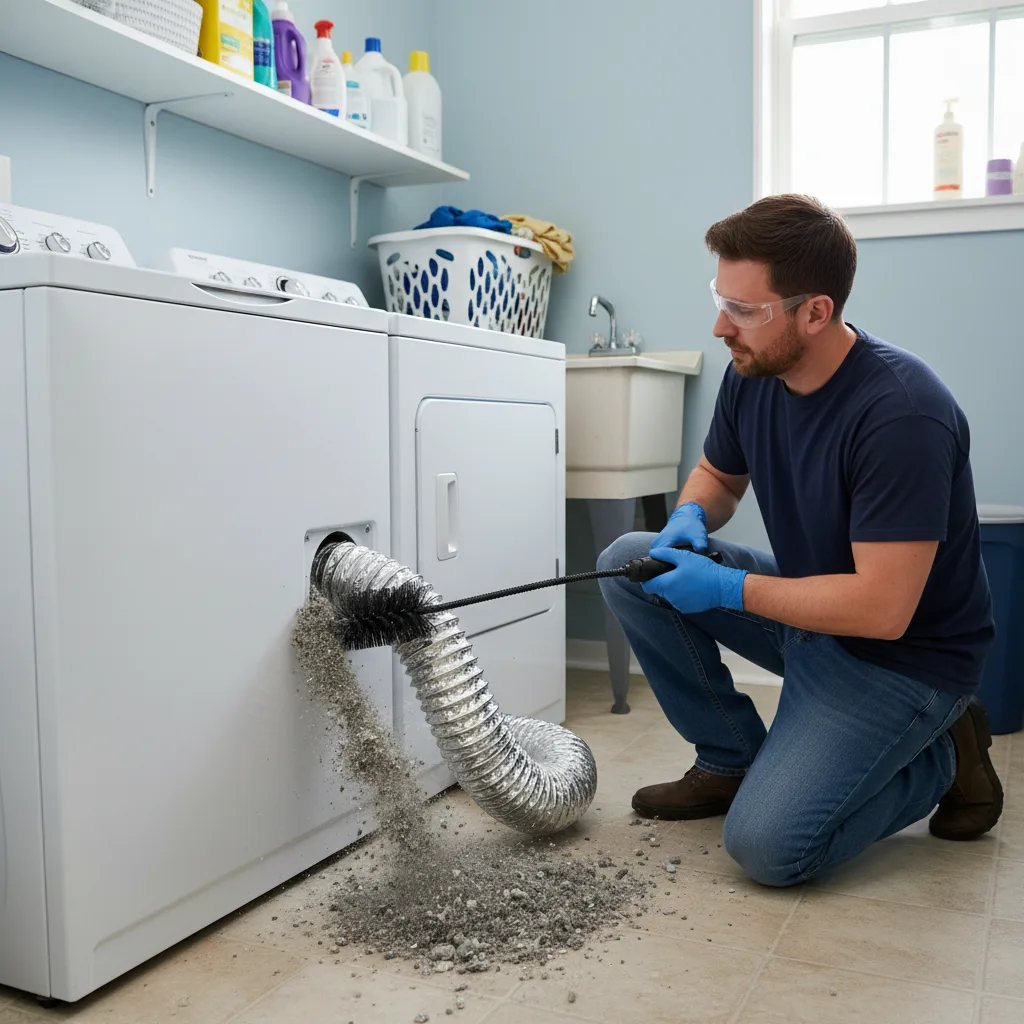
DIY Dryer Vent Cleaning: Step by Step
For straightforward vent runs (short, relatively straight, accessible at both ends), DIY cleaning is feasible and effective. Here's how to do it right.
What You'll Need
- Dryer vent cleaning kit ($15–$30): These include a flexible brush head and rod extensions that connect to a power drill. Available at any hardware store or online
- Power drill: To spin the brush through the vent
- Vacuum with hose attachment: To clean up lint at both ends
- Screwdriver: To disconnect the vent from the dryer
The Process
- Unplug the dryer (electric) or turn off the gas valve (gas dryer). Pull the dryer away from the wall
- Disconnect the vent duct from the back of the dryer. Use a screwdriver to loosen the clamp
- Insert the brush into the vent opening at the dryer end. Attach rod extensions as needed and use the drill to spin the brush while pushing it through the duct
- Clean from the outside too: Remove the exterior vent cover and brush from the outside in. This is especially important if the duct has bends that are hard to reach from one direction
- Vacuum both ends thoroughly. Clean the cavity behind the dryer where lint accumulates
- Reconnect everything and run the dryer on air-only (no heat) for a few minutes to blow out any remaining loose lint
- Check the exterior vent while running — you should feel strong airflow
DIY limitations: DIY cleaning works well for vent runs under 10 feet with minimal bends. If your vent is longer than 15 feet, has multiple 90-degree turns, runs through walls or ceilings, or you can feel resistance that the brush can't clear — call a professional. Forcing a brush through a damaged duct can make things worse.
Professional Dryer Vent Cleaning: What to Expect
Cost
Professional dryer vent cleaning typically costs $80–$150 for a standard residential job. Factors that affect pricing:
| Factor | Typical Cost Impact |
|---|---|
| Standard cleaning (under 15 ft) | $80 – $120 |
| Long vent run (15–25 ft) | $100 – $150 |
| Roof vent access required | +$30 – $75 |
| Bird nest or major blockage removal | +$50 – $100 |
| Video inspection included | +$25 – $50 |
| Duct repair or replacement | $150 – $400+ |
Many companies offer dryer vent cleaning as an add-on to air duct cleaning at a discounted rate — typically $75–$100 when bundled. Use our cost calculator to estimate pricing in your area.
What Professionals Do Differently
Professional vent cleaners bring equipment that DIY kits can't match:
- Compressed air tools: High-pressure air clears packed lint that brushes can't reach
- Video inspection cameras: A small camera on a flexible cable lets the technician see inside the entire vent run, identifying damage, disconnections, or pest nests that are invisible from the outside
- Rotary brush systems: Commercial-grade rotating brushes that clean more thoroughly than DIY kits
- Airflow measurement: Some technicians measure airflow before and after cleaning to verify improvement and establish a baseline
When to Hire a Professional
- Vent runs longer than 15 feet
- Multiple bends or turns in the duct
- Vent exits through the roof (not a wall)
- You suspect a bird nest, rodent activity, or major blockage
- The duct runs through walls or between floors
- You've never had it cleaned and don't know the duct's condition
- Your dryer is gas-powered (gas line safety considerations)
Lint Trap Myths That Put You at Risk
Several common misconceptions about dryer maintenance create a false sense of security:
Myth: "I Clean the Lint Trap Every Load, So I'm Fine"
Cleaning the lint trap is essential, but it only catches about 75% of lint. The remaining 25% passes into the vent duct. Even with perfect lint trap maintenance, the vent needs annual cleaning.
Myth: "Dryer Sheets Keep the Vent Clean"
The opposite is true. Dryer sheets leave a waxy residue on the lint screen that reduces its effectiveness over time. This residue can also coat the inside of the vent duct. If you use dryer sheets, scrub your lint screen with a brush and warm water monthly.
Myth: "New Dryers Don't Need Vent Cleaning"
The age of your dryer is irrelevant. Lint buildup is a function of how much laundry you do and the length/configuration of your vent duct. A brand-new dryer connected to an old, dirty vent is just as much of a fire risk.
Myth: "I'd Smell a Problem Before It Became Dangerous"
Lint fires can start inside the vent duct, between the dryer and the exterior wall. By the time you smell something, the fire may have already spread into the wall cavity. Don't rely on your nose — rely on a maintenance schedule.
Rigid vs. Flexible Duct: Why It Matters
The type of duct connecting your dryer to the exterior vent has a major impact on safety and maintenance.
Rigid Metal Duct (Recommended)
Smooth-walled aluminum or galvanized steel duct is the gold standard. The smooth interior surface doesn't trap lint as readily, and rigid duct maintains its shape over time. Most building codes now require rigid metal duct for dryer vents.
Semi-Rigid Metal Duct (Acceptable)
Corrugated aluminum duct is flexible enough to route through tight spaces but rigid enough to maintain its shape. It collects slightly more lint than smooth rigid duct due to the ridged interior, but it's a significant upgrade from flexible foil.
Flexible Foil or Vinyl Duct (Dangerous)
Thin foil accordion-style ducts are the most common cause of dryer vent problems. They sag, creating low spots where lint accumulates. The ribbed interior traps lint aggressively. Foil ducts crush easily, and vinyl ducts can melt or catch fire. If your dryer is connected with flexible foil or vinyl duct, replace it with rigid or semi-rigid metal immediately.
⚠️ Code requirement: Most current building codes prohibit flexible vinyl or thin foil duct for dryer vents. If your home has one of these, it may have been installed improperly or may predate current codes. Replacement is typically $50–$150 in materials and well worth the investment. A professional can replace it during a vent cleaning visit.
Video Inspection: When and Why
Video inspection involves inserting a small camera into the dryer vent to visually assess the duct's condition. It's not necessary for every cleaning, but it's valuable in certain situations:
- First-time cleaning of an older home: You don't know what's in there until you look
- Persistent problems after cleaning: If your dryer still runs hot or takes too long after a cleaning, video inspection can reveal duct damage, disconnections, or crushed sections
- Suspected pest activity: Birds love dryer vent openings for nesting. Video inspection confirms the problem and its exact location
- Before buying a home: If you're moving into a new home, a $25–$50 video inspection of the dryer vent is cheap insurance
- Long or complex vent runs: For vents over 15 feet or with multiple bends, video inspection verifies that cleaning was thorough
How Often Should You Clean Your Dryer Vent?
The baseline recommendation is once per year. However, your specific situation may require more frequent cleaning:
| Household Situation | Recommended Frequency |
|---|---|
| Average household (2–4 people) | Annually |
| Large family (5+ people, heavy laundry use) | Every 6–9 months |
| Pets that shed heavily | Every 6–9 months |
| Long vent run (over 15 feet) | Every 6–9 months |
| Flexible foil duct (replace ASAP) | Every 6 months until replaced |
| Light use (1–2 people, minimal laundry) | Every 12–18 months |
Mark it on your calendar. Pair it with another annual maintenance task — like HVAC system maintenance or changing your smoke detector batteries — so you don't forget.
Get Dryer Vent Cleaning Quotes
Connect with certified professionals who clean dryer vents and air ducts. Fast, free quotes — no obligation.
Quick Maintenance Tips Between Cleanings
- Clean the lint trap before every load — this is the single most important thing you can do
- Scrub the lint screen monthly with warm water and a brush to remove dryer sheet residue
- Check the exterior vent periodically — make sure the flap opens freely and nothing is blocking it
- Don't overload the dryer — overfull loads produce more lint and reduce airflow
- Keep the area around the dryer clean — lint on the floor and behind the dryer is fuel for a fire
- Never run the dryer when you're away or asleep — if a fire starts, early detection is critical
- Make sure your dryer is level — vibration from an unlevel dryer can loosen vent connections over time
Watch out for duct cleaning scams that add dryer vent cleaning at inflated prices. A standalone dryer vent cleaning should never cost more than $150 for a standard residential setup. Check company profiles on our city pages for Dallas, Phoenix, Houston, and other areas.
🏢 Are You an HVAC or Duct Cleaning Contractor?
Dryer vent cleaning is a high-margin add-on service that builds recurring revenue. Use GoHighLevel to automate annual cleaning reminders and build a loyal customer base.
GoHighLevel for HVAC Businesses → Professional Quoting Software →Related Guides
- How Much Does Air Duct Cleaning Cost in 2026?
- Commercial Air Duct Cleaning Cost: What Businesses Should Expect
- How to Spot Air Duct Cleaning Scams (And Avoid Them)
- Should You Clean Air Ducts Before Moving Into a New Home?
- Air Duct Cleaning for Allergies: Does It Actually Help?
- Complete Air Duct Cleaning Guide